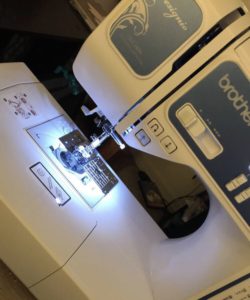
 This year for my birthday, I was delighted to receive my very own sewing machine! Over the years I’ve learned my way around a sewing machine; whether it was to hem pants or to make a pillow case or just to repair a hole in a shirt. These are definitely useful things to know, and I’ve been glad I have the limited amount of skill necessary to sew a thing or two. However, a sewing machine is not just a means to being able to complete small necessary projects around the house (or your wardrobe, really).
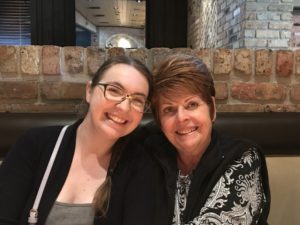 Instead, for me, a sewing machine brings me back to afternoons at my grandmother’s house. Every time I visited I would learn some new crafty skill. It’s thanks to her that I know how to crochet and knit! (my cross-stitching skill I will attribute to my dad, though 🙂 ). Aside from yarn crafts and other various small projects, I learned how to make my own clothes, sew buttons and button holes, and to make a tied quilt. I very fondly remember going to the fabric store together to pick out the fabric for my new shirt (it had cute little hearts on it and I made matching red pants) or collecting the fabric squares for the quilt. We’d then head back to her house and she would lead me through the steps and show me what to do. She’s taught me attention to detail and the benefits of being careful and thorough the first time. I learned a neatly finished project is well worth the effort you put into it. By always being willing to teach me something new, my grandma taught me that I am capable of creating things.
A sewing machine is not simply a tool to complete various household tasks, it means I now have more ways to create things.
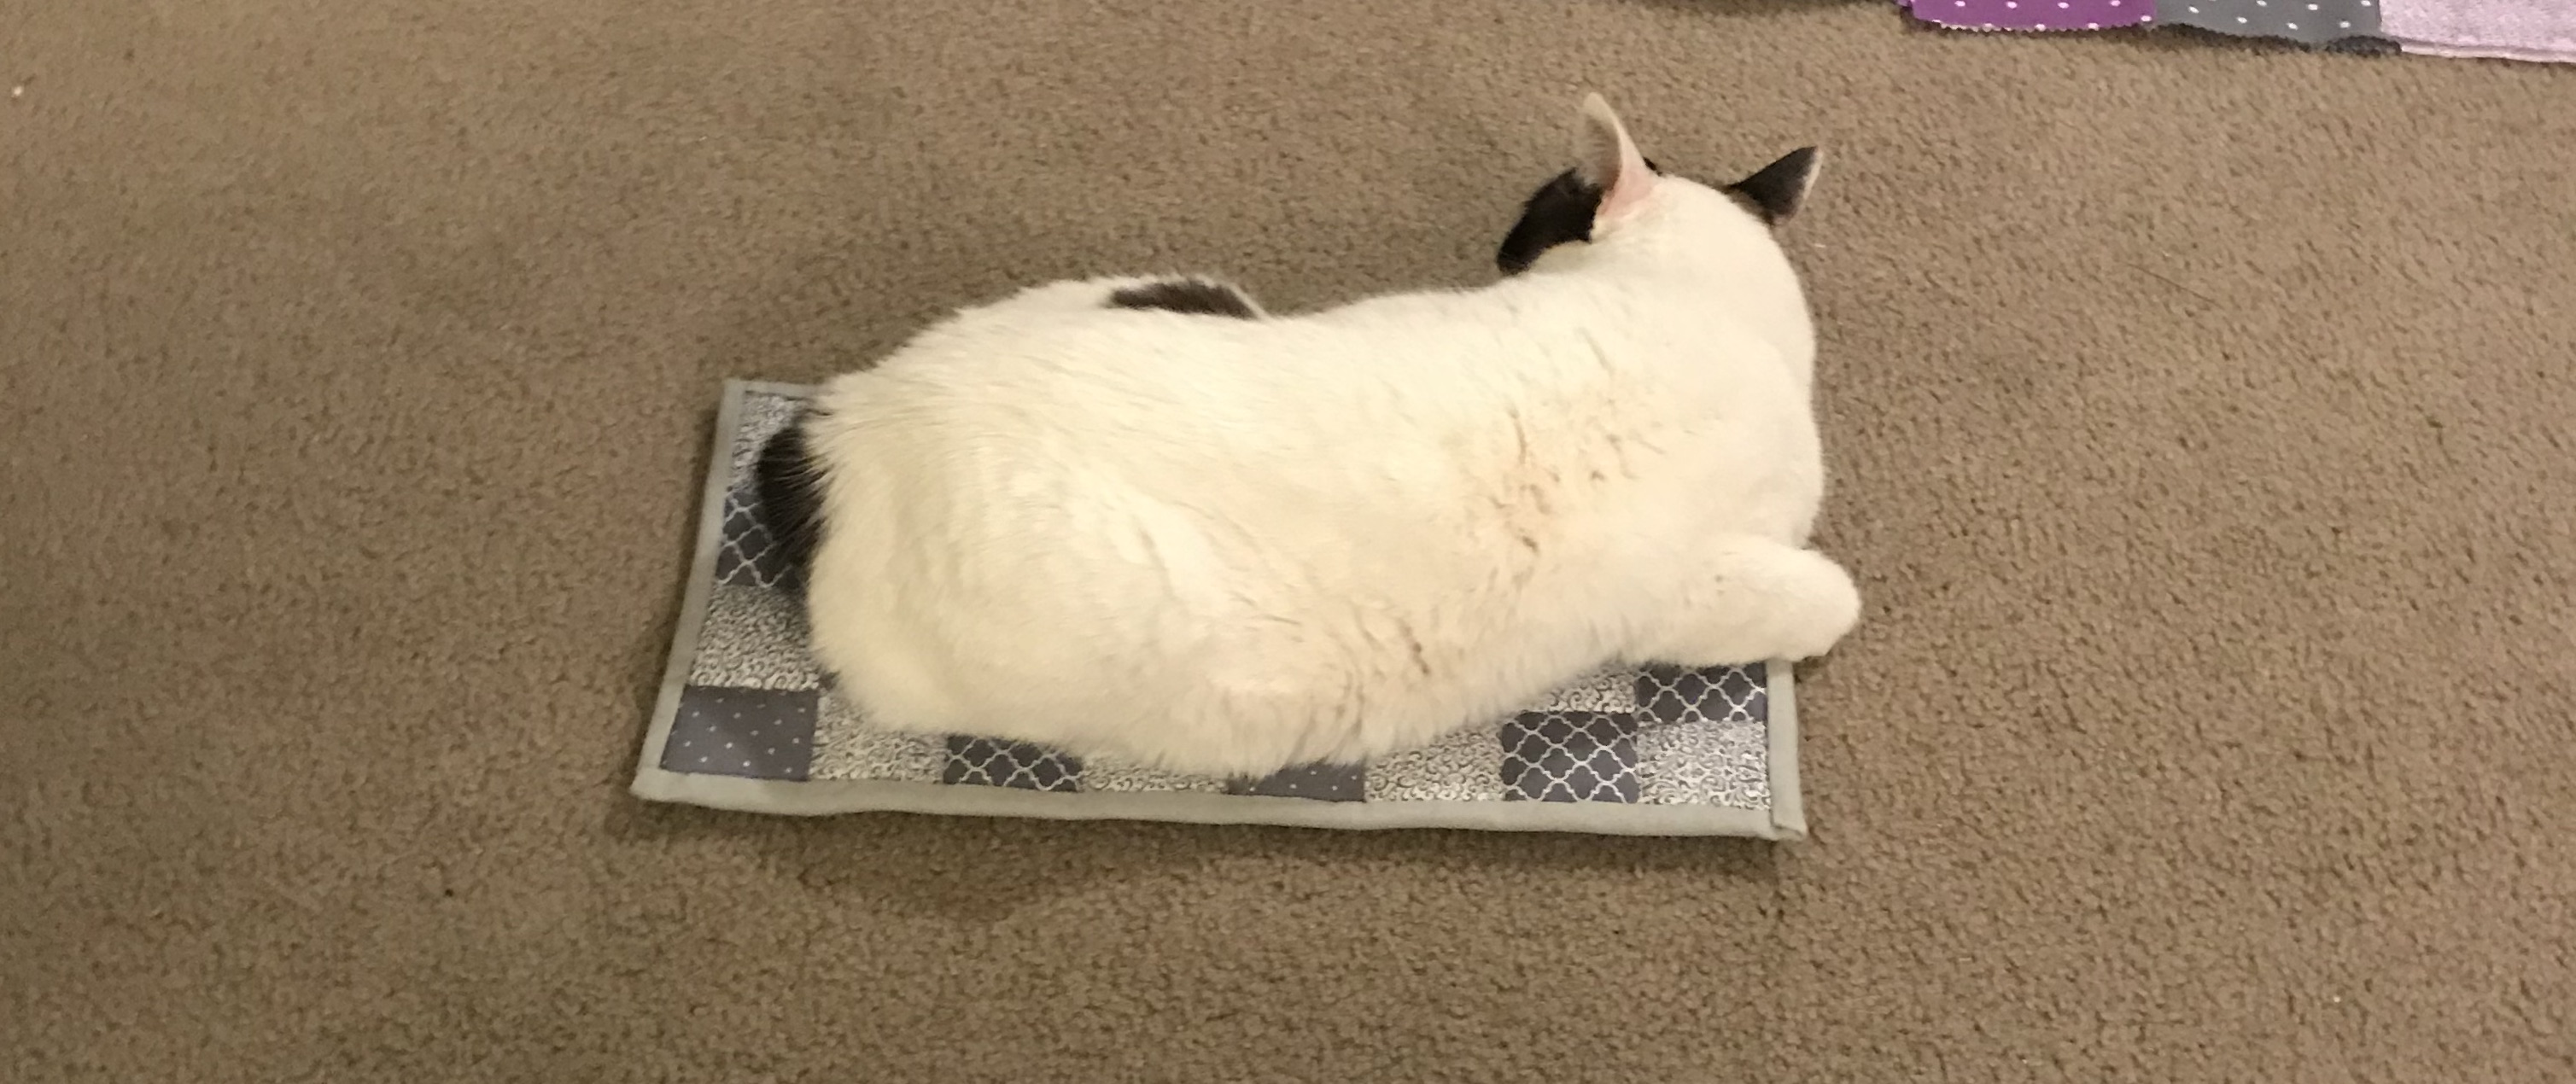
While I don’t think I’ll head back into the world of making clothes in particular, I am excited about the endless possibilities of projects to do and creations to make. Specifically, I jumped right into the world of quilting! I first made a tiny quilt – seen above in the cover photo! (Felix likes it, it’s his size) – I got a feel for all the various steps it takes to make a quilt, and had a chance to get a little more skill with techniques involved in quilting in general. I made great use of the internet with youtube videos and informative quilting blogs!
Next: a big one! Before I start trying to make anything I might give away to someone, I wanted to do a full-size version. Truthfully, my big quilt is no where near close to fitting on a bed, but it’s bigger than Felix size!
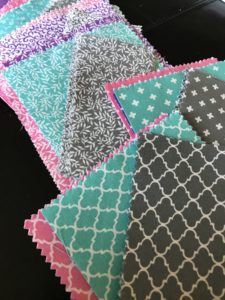 I had gotten a whole bunch of matching patterned squares, and first needed to cut them up to make a pattern. I had four colors, but not enough to just make a nice square with each quarter a different color. Instead I pieced the colors together into something a little more interesting – and I learned how confusing it is to account for the seams when you’re measuring things! You have to make the pieces a half an inch bigger for every two seams that piece will be next to. That made for some weird measurements on my squares!
Next, I made all my quilt blocks. Each fabric pattern made up one block. I made 30 quilt blocks! Sewing together 150 separate pieces of fabric!
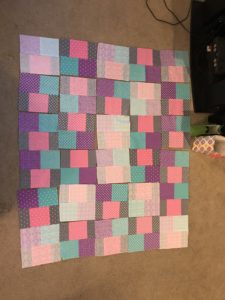 With all the squares together I set to finding the right pattern to make it look like a complete, consistent quilt. A number of the patterns looked much lighter than the others, which made the quilt look washed out if too many of them were next to each other. And of course, I didn’t want to put similar patterns right next together other. After some staring at it from all possible angles, I got some help from Alex. He suggested the final pattern, which handled the fact that there were fewer light patterns than dark patterns. Once those blocks were all sewn together into one big piece. I set to working on the backing, batting and binding 😉
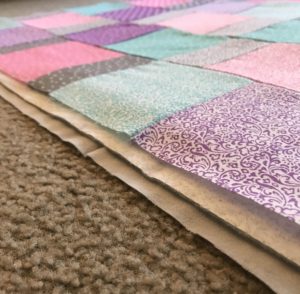 The backing of the quilt was simple, my quilt was small enough I could get one solid piece of fabric that would fit over the back of the quilt. Batting was a little weirder. Batting is the layer of the quilt that makes it a nice comfy blanket, and is the primary source of any insulation. I couldn’t find many options for batting when I wandered the fabric store. The ones I did find are meant to be very warm, in fact they even have a light aluminum-like insulating layer. This doesn’t mess with sewing the batting much, but it is a bit stiff and crinkles in a funny way. I put all the elements together to make the commonly named “quilt sandwich”.
Now time to quilt! Here I’m a little confused, as the entire process of making a quilt is “quilting” but also, the specific step of sewing all the layers together is also referred to as “quilting”. This is where really experienced people make neat designs and add a lot of texture of the quilt. I just went with some straight lines. I did make it a bit trickier on myself, however. I made diagonal lines. 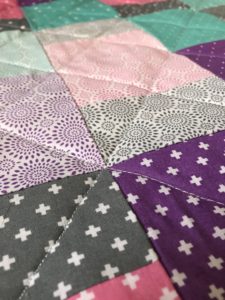 I think they look nice in contrast to the vertical and horizontal lines in the pattern, but boy were they difficult to get straight! Even with marking them before hand, the quilt would keep pulling to the side as I sewed and I got some funny looking squiggly ones. They don’t look so bad once I erased the nice ruler-straight lines I marked as guides 😉
There are two types of quilting; “hand quilting” – stitching each part of the design by hand or “machine quilting” – using the sewing machine for the stitches. Apparently you can be just as artistic with machine quilting as hand quilting by “free motion” quilting where you move the quilt smoothly as the machine stitches. Given how much trouble I had keeping the quilt moving with straight lines, I think I’ve got awhile before I could do that! I also learned about the awesomeness that is a walking foot – this special foot for the sewing machine has grooves on the top of the foot that move the top layer of the fabric at the same time the sewing machine moves the bottom layer. This is super helpful for all the layers in a quilt!
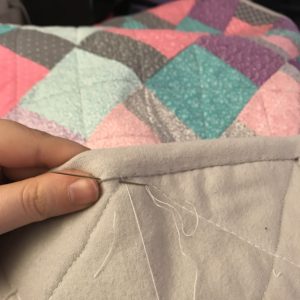 Finally, the last step was making the edges all pretty with a binding. After using the machine to sew the binding fabric to the edge of the quilt, I sat and watched some Netflix comedy specials (Trevor Noah’s “Son of Patricia” and Ali Wong’s “Hard Knock Wife” to be specific – would recommend) while stitching the binding around the edges.
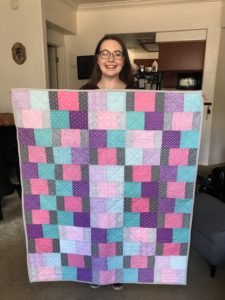
At last – it was finished!
It’s a bit stiff and crinkly; and has some funky stitches if you look closely but I’m pretty proud of it. I think next time I’ll use different colors, and definitely find a non-crinkly batting!
J’neil you should be very proud of yourself for making this beautiful quilt. It’s really lovely. I am looking forward to your next one, as you let your creative juices flow. I like the diagonal pattern you made on this one. I think It gave it more interest than the squares would have. I’m impressed with you and your project.
Your blog gave me wonderful memories of our time together at the sewing machine. You were a quick learner and so much fun to be with. You’re very creative and do lovely work.
Tada!!! It’s beautiful, and you look so happy and proud of yourself – as you should be! I, too, really like the diagonal lines. Do I see a star quilt in your future? 🙂
You have some wonderful memories of time with grandma. I’m delighted with your recent projects and think they’ve trurned out great! I’m looking forward to seeing what you create next! Felix seems so happy with the cute little grey quilt.
In her books Brene Brown often mentions the importance of an artistic or creative outlet – that we should all have one. It’s pretty cool to see you prioritizing that and working at such cool projects.
I can attest to the comfort of this quilt since I got to wrap up in it the last time I was there. Very cool, or to be literal, very warm.
Ooh, I love it!! Quilting is something I’ve never dared try my hand at. It scares me more than sewing clothes, for some reason. Haha. Great job!!